

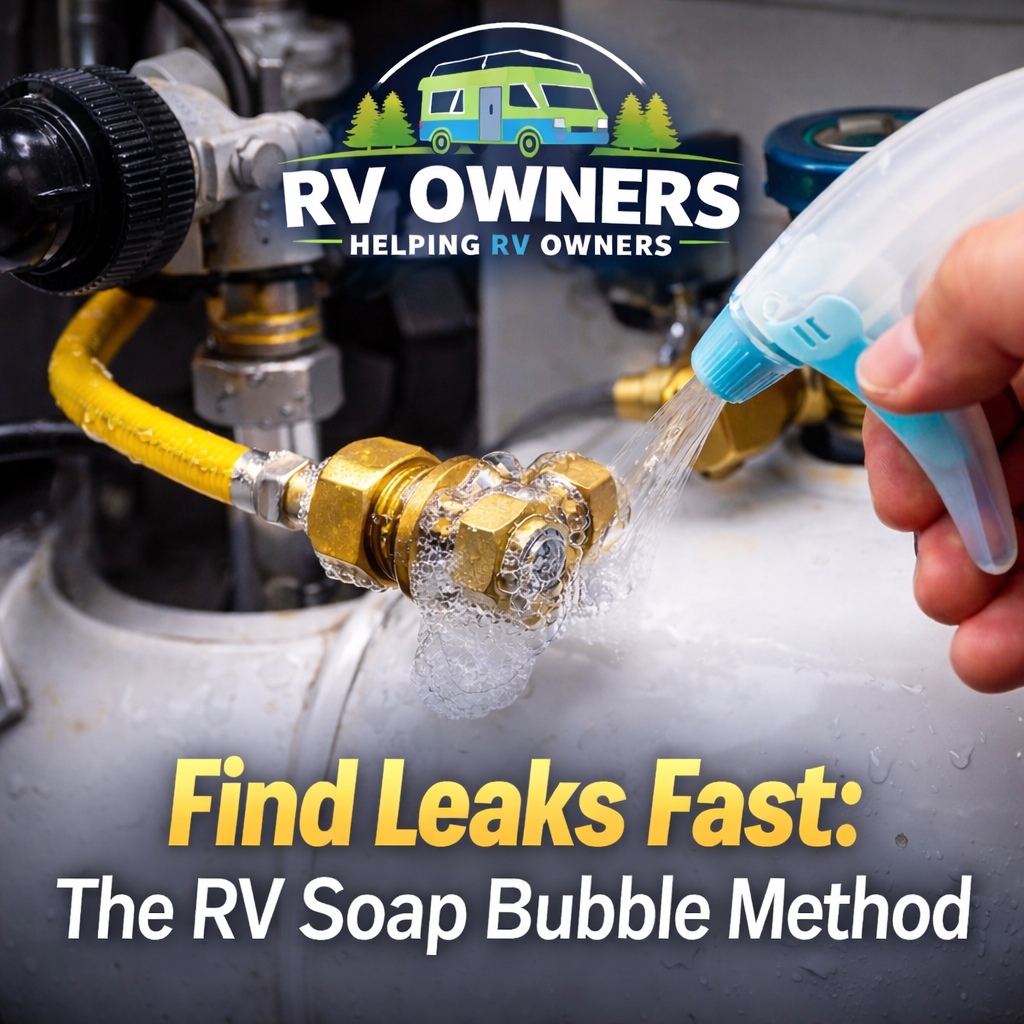
🔍 Find Leaks Fast: The RV Soap Bubble Method
Propane systems are safe when maintained properly, but even a small leak can become dangerous if ignored.
The soap bubble test is the easiest way to check your RV for propane leaks. No special tools required, just a spray bottle and a few minutes.
Avoiding making mistakes is just step one. If you want a complete, step-by-step roadmap to master your systems and handle roadside repairs without a $150/hr technician fee, grab a copy of ROHRO's RV Repair Today.
👉 Click Here to Download Your Copy Instantly for $9.99 CAD 
⚠️ Before You Start (Safety First)
Take these quick precautions:
- Turn OFF all flames and appliancesStove
- Furnace
- Water heater
- Make sure you're in a well-ventilated area
- Do NOT smoke or create sparks
- If you smell strong propane, stop immediately
👉 Safety always comes first.
🧰 What You’ll Need
- Spray bottle
- Dish soap
- Water
🧪 Mix Your Solution:
- About 50/50 dish soap and water
- Shake gently (don’t over-foam)
👉 You want it soapy enough to bubble easily
🪜 Step-by-Step: How to Find Propane Leaks
✅ Step 1: Turn On the Propane
- Slowly open your propane tank valve
- This pressurizes the system
👉 You need pressure in the lines to detect leaks
✅ Step 2: Start at the Tank
Spray your solution on:
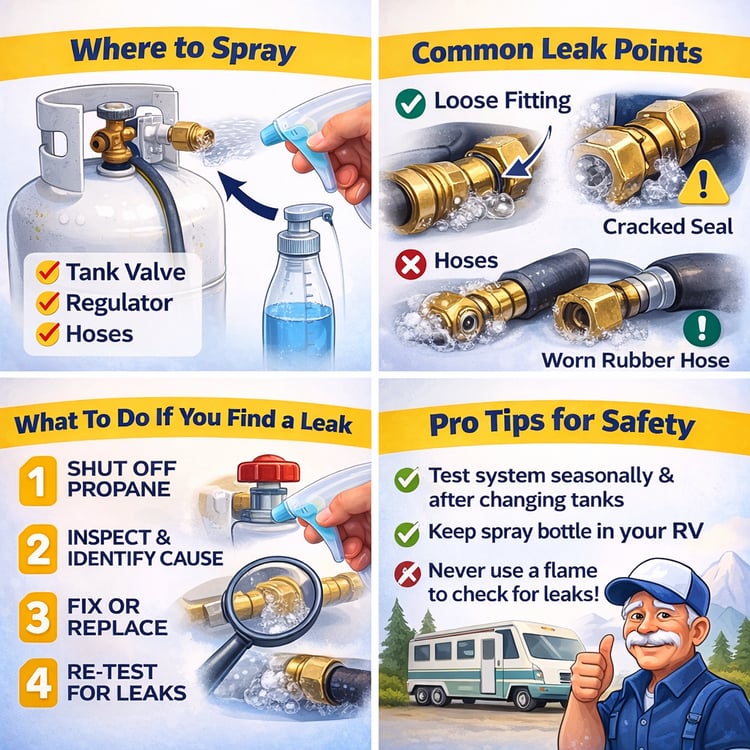
- Tank valve
- Regulator
- Hose connections
👉 These are the most common leak points
✅ Step 3: Watch for Bubbles
This is the key part:
- No bubbles? ✅ You’re good
- Small bubbles forming slowly? ⚠️ Possible minor leak
- Big, growing bubbles? ❌ Active leak
👉 Bubbles = escaping gas
✅ Step 4: Check All Connections
Work your way through the system:
- Regulator fittings
- Hose connections
- Quick connects
- Appliance connections (if accessible)
Take your time, don’t rush this
✅ Step 5: Confirm the Leak
If you see bubbles:
- Wipe the area
- Spray again
👉 This confirms it’s not just leftover soap or movement
🔧 What to Do If You Find a Leak
🛑 Step 1: Shut Off Propane Immediately
- Turn off the tank valve
🔍 Step 2: Identify the Cause
Common issues:
- Loose fitting
- Worn rubber hose
- Cracked seal
- Bad regulator
🔧 Step 3: Fix or Replace
- Tighten fittings (gently, don’t overtighten)
- Replace damaged parts
👉 If unsure, call a certified RV tech
🔁 Step 4: Test Again
Always re-test after fixing
👉 No bubbles = safe to use
🚫 What NOT to Do
- ❌ Don’t use a flame to check for leaks (ever)
- ❌ Don’t ignore small bubbles
- ❌ Don’t assume “it’s fine”
- ❌ Don’t overtighten fittings (can cause damage)
🧠 Pro Tips
- Test your system:
- At the start of every season
- After changing tanks
- After any propane work
- Keep a spray bottle in your RV at all times
- Check before long trips
🏕️ Real-World Example
You hook up or fill your propane tank and earthquake down the road to your next spot.
Everything seems fine…
You arrive and while your setting up you do a quick leak test. You spray the connections, and see bubbles forming on one of the fittings, it just needed a little tightening.
👉 That quick test just prevented a potential gas leak from your RV.
🔑 Final Thoughts
The soap bubble method is:
- ✔ Simple
- ✔ Cheap
- ✔ Extremely effective
It takes just a few minutes, but can prevent serious problems.
👉 If there’s one habit every RVer should build, it’s this.
Avoiding making mistakes is just step one. If you want a complete, step-by-step roadmap to master your systems and handle roadside repairs without a $150/hr technician fee, grab a copy of ROHRO's RV Repair Today.
👉 Click Here to Download Your Copy Instantly for $9.99 CAD
This article was written in co-operation between RV Owners Helping RV Owners (ROHRO) and DM Tech RV Education.
DIY RV repairs aren't always the answer, but the more you know, the more money you can save! 👍
Would you like more education?
- We have our💻🎓🌐 ROHRO's The RV Blueprint Online Course🧑🏫
- Different 📚Offline Resources📚
- We also offer our free 📖RV Life Guides📖
We have something for all types of RVer's!
Visit us at🧑🤝🧑 The Official ROHRO Website ❓or just click the 🏠homepage in the menu up top!