

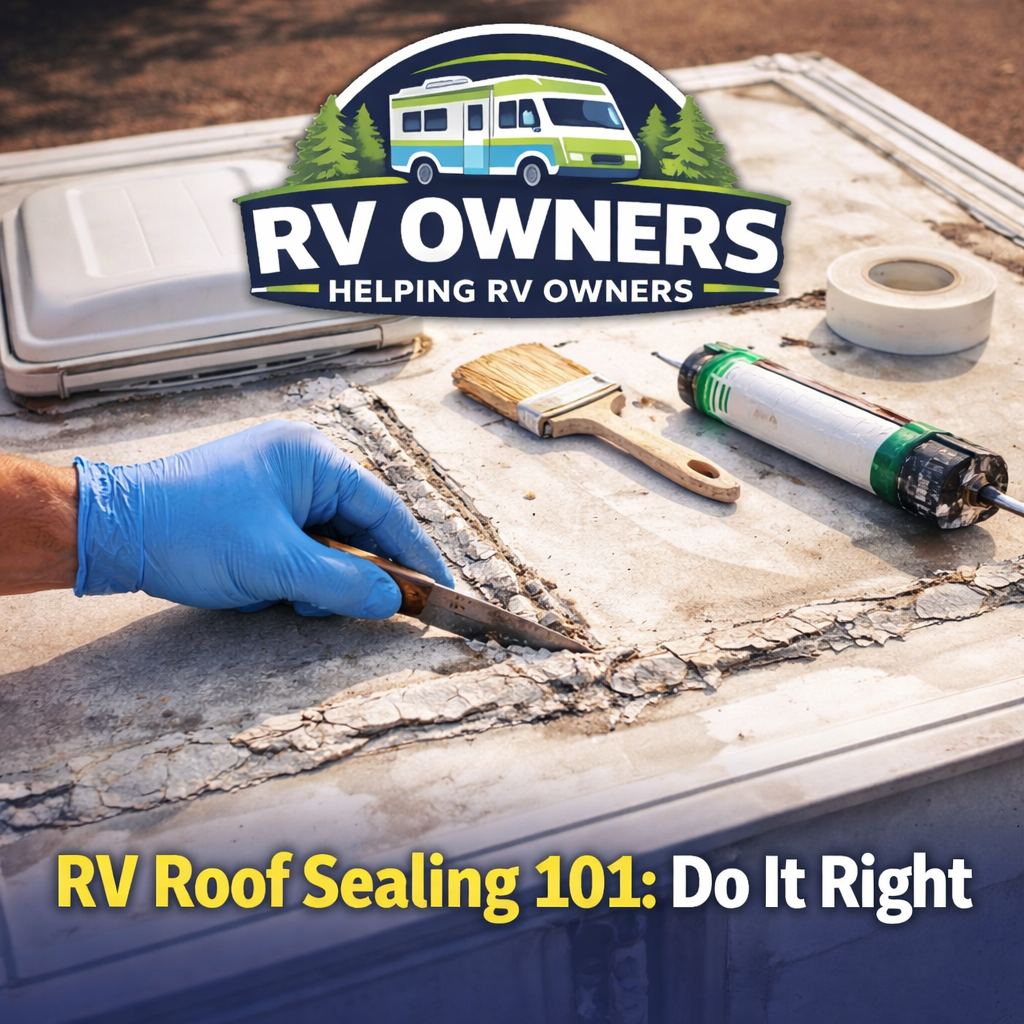
How to Reseal Your RV Roof: A Step-by-Step Guide
Re-sealing your RV roof is essential for maintaining your RV's integrity and preventing costly repairs. A properly sealed roof protects against leaks, water damage, and structural issues—making it one of the most critical aspects of RV maintenance. Whether you're a weekend warrior or a full-time adventurer, this guide will help you tackle the job with ease.
Tools You Will Need for RV Roof Maintenance
Here’s a general list of tools and materials for resealing your RV roof:
1. Safety Gear: Prioritize your safety. Wear gloves, safety glasses, and appropriate footwear while working on your RV roof.
2. Cleaning Supplies: Use RV roof cleaner or mild soap, a bucket, and a soft brush or sponge to prep the surface.
3. Scraper or Putty Knife: A plastic scraper helps remove old sealant without damaging rubber membranes like EPDM or TPO.
4. Caulking Gun: Essential for applying sealant like Dicor Self-Leveling Caulking. Choose one compatible with the typical size of 10.3-ounce tubes.
5. Sealant: Invest in a high-quality RV roof sealant that works with your roof material, EPDM, TPO, or fiberglass.
6. Patching Material: Repair cracks or holes with patching tape or roof repair materials before sealing.
7. Ladder or Scaffolding: Safely access your RV roof using a sturdy ladder or scaffolding.
8. Rags or Towels: Keep rags handy for cleaning spills or wiping away excess sealant.
Steps to Reseal Your RV Roof
1. Clean the Roof
Thoroughly clean your RV roof with an RV-safe cleaner to remove dirt, debris, and old sealant. A clean surface ensures the new sealant adheres properly, preventing leaks.
2. Inspect for Damage
Carefully examine the roof for cracks, holes, or loose seams. Use patching material to repair any damage before applying the new sealant.
3. Choose the Right Sealant
RV-specific sealants are your best option. Products like Dicor Self-Leveling Caulking are perfect for sealing EPDM or TPO roofs. Check with your RV supply store for recommendations.
4. Apply the Sealant
Using a caulking gun, apply the sealant evenly along edges, vents, air conditioners, and seams. Ensure the sealant creates a continuous barrier to block water intrusion.
5. Let It Dry
Allow the sealant to cure fully. Drying times vary, so check the product instructions to ensure maximum effectiveness.
6. Optional: Roof Coating
For a more extensive job, consider using a roll-on roof sealant to coat the entire roof. However, this can make spotting future trouble areas more difficult. If your roof has a damaged rubber membrane, replacing it is often the most effective solution.
Why Regular RV Roof Maintenance Matters
Regular inspections and resealing are key to keeping your RV in top shape. Resealing not only prevents leaks but also prolongs the lifespan of your roof and avoids costly repairs down the road.
Make RV Life Easier with the Right Tools and Resources
This article was written in co-operation between RV Owners Helping RV Owners (ROHRO) and DM Tech RV Education.
DIY RV repairs aren't always the answer, but the more you know, the more money you can save! 👍
Would you like more education?
- We have our💻🎓🌐 ROHRO's The RV Blueprint Online Course🧑🏫
- Different 📚Offline Resources📚
- We also offer our free 📖RV Life Mastery Guides📖
We have something for all types of RVer's!
Visit us at🧑🤝🧑 The Official ROHRO Website ❓or just click the 🏠homepage in the menu up top!